

As requested by one of our valued users, we are going to discuss the procedure for installing and checking the fixes of any webmethods components by SoftwareAG update manager.
Before starting you have know that Empower (http://empower.softwareag.com) is the website for softwareAG/webMethods clients to contact the support, check the knowledge base, download the product documentation, check the latest fixes, and download the latest fixes (through the Update Manager).
Starting from wemethods version 8, softwareAG introduced its new component ‘Update Manager’ which is responsible for:
|
Item |
Description |
|
Install fix from empower |
– Install the fix directly from empower and you will not keep a local copy from the fix to be deployed to other servers. – Empower account required. |
|
Install fix from Image. |
– You already downloaded the fix image and you will use it to install the fix. – Empower account not required. |
|
Create a fix image. |
|
|
View installed fixes |
|
|
Uninstall fixes |
– Uninstall ONLY the last installed fixe. |
Software Update Manager is one of webMethods components. You can install using SoftwareAG installer, the following steps can be used to install any webMethods component:
1. Open SoftwareAG Installer
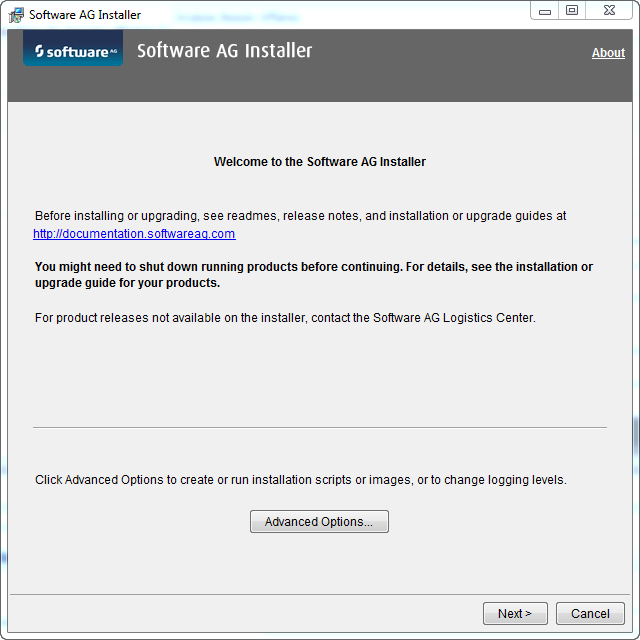
2. If you want to install from existing image click on the ‘Advanced Options’ button. But if you want to install the component (update manager) from SoftwareAG Empower then click ‘Next’ directly.
a. In case of image choose the image from your local disk or network drive.

b. If you will download the component (update manager) from empower, then enter your empower account login and password; and choose webMethods version you are using.
Note: If this is the first time to download a component or Fix from empower you will have to login to empower home page (empower.softwareag.com) to accept the license agreement.

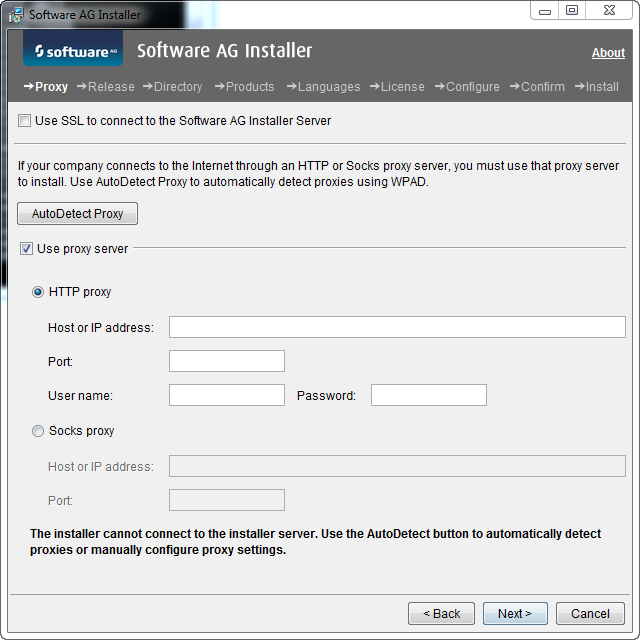
Configure the proxy to allow the installer to connect to empower through the internet.
3. You will see the list of available products. Choose the ‘Update Manager’ (it is in gray in the screen shot below as it is already installed).
Now we have SoftwareAG update manager ready for use. Here are the steps to install or check for new fix:
1. Open the update Manager by opening: ../SoftwareAG_Directory/UpdateManager/bin/UpdateManagerGui

2. Choose the option you want, use the table provided in the beginning of the article.
Note: It is strongly recommended to create an image for your fixes as it is not always possible to access the internet from all server.
Product Directory: Is the location of the software/webmethods installed components, or the components you want to update (you can access it through the network).
Image File name: Is the name of the existing image you will use to install fix (Install from Image), or the name of the image
you will create in case of ‘create or add fix to image’.
Empower username and password are used only in the following cases:
a. Install Fix from Empower.
b. Create or add fix to image.
3. After making your choices you will see a list of the available fixes for each component in the chosen ‘Product directory’.
Note: If the webmethods components are installed in separate directories or servers, then you will have to run the update manager once to download or check the fixes. For example in below the screen shot we can see the fixes for Designer, and common libraries as these are the only installed components in the ‘Product directory’.
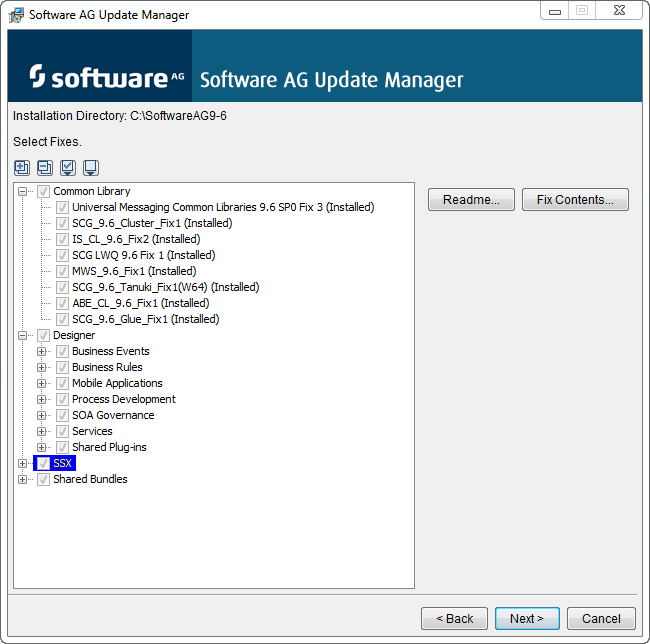
4. You can check the ‘Read Me’ file before installing the fix to follow the instruction and understand the impact of the fix.
Tips and tricks:
If you uninstalled a fix and you want to install it again the ‘update manager’ will not be able to reinstall because it will assume that it is already installed. To overcome this problem open the update manager from the command line with the following parameters command:
../SoftwareAG/UpdateManager/bin/> UpdateManagerGui -overInstall true
We hope that you enjoyed the tutorial, and we are looking forward reading your comments and questions.
Follow us:
on twitter: @WM_Expert
LinkedIn group: webmethodsExpert.com
(C) 2014 Hossam Elsharkawy. All rights reserved.

Dear Hossam,
The tutorial is very helpful.
I’m trying to do the step of create fix image and I’m getting the error message ‘Please enter image file’ and I have no fix image. I would like to create a fix image.
Thanks,
Hello Ahmed,
Thank you for your interest in the tutorial. When you choose the option ‘create fix image’ the update manager will create the image file for you if it doesn’t exists. So enter the target image name even if it doesn’t exists for example ‘c:\myfix.zip’
I’m looking forward knowing the result of the fix image creation.
Best regards,
Hossam
Dear Hossam,
Thanks for your reply.
When I do this, the Update Manager display error message ‘No Repository Found in this file’
I’m using update manager 9.8
Sorry for bothering you.
Thanks,